Ballu air conditioner installation in Chisinau, Moldova
-

- Installation services
- Installation of air conditioning and ventilation systems
- Installation of household air conditioners
- Ballu air conditioner installation


Installing a Ballu air conditioner is a step towards enhancing comfort and climate control in your home or office. Ballu air conditioners are renowned for their reliability, energy efficiency, and advanced technology, making them a popular choice for cooling and heating solutions. This guide will walk you through the essential steps of installing a Ballu air conditioner, along with valuable tips for choosing the right model and ensuring optimal performance.
Choosing the Right Ballu Air Conditioner Model
Before diving into the installation process, it's crucial to select a model that suits your needs. Ballu offers a diverse range of air conditioners, from compact window units to powerful split systems. Consider the following factors when choosing a model:
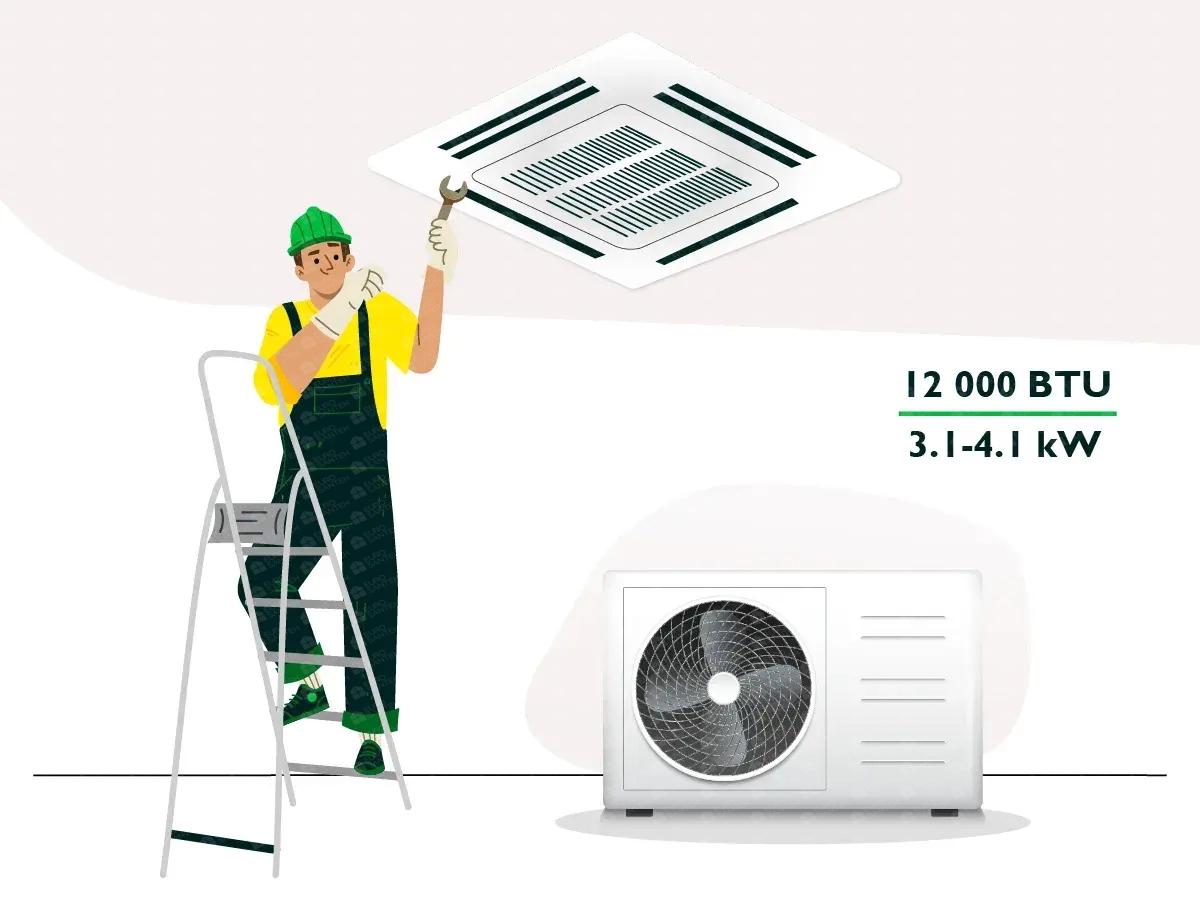
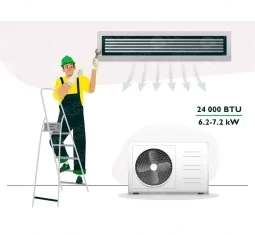
Room Size: Determine the size of the area you need to cool or heat. Larger spaces require more powerful units. Ballu provides models with varying capacities, so choose one that matches the size of your room.
Energy Efficiency: Ballu air conditioners are known for their energy efficiency. Look for models with a high Seasonal Energy Efficiency Ratio (SEER) rating. Models with an A+++ rating will save you money on energy bills in the long run.
Features: Modern Ballu models come with a wide range of features such as smart connectivity, built-in air purifiers, humidity control, and various cooling modes. Decide which features are essential for your comfort needs.
Noise Levels: If the unit will be installed in a bedroom or office, noise level is critical. Ballu designs units to operate quietly, but check the decibel ratings (dB) to ensure it meets your quiet operation requirements.
Preparing for Installation
Once you've selected the right model, the next step is to prepare for installation. Proper preparation ensures a smooth process and optimal functioning of the air conditioner.
Tools and Materials Needed
To install a Ballu air conditioner, you will need the following tools and materials:
- Drill and masonry drill bits;
- Screwdriver;
- Level;
- Tape measure;
- Mounting brackets and screws;
- Insulation materials;
- Refrigerant pipes and electrical cables;
- Drainage hose.
Steps for Installation
1. Determining the Installation Location
Choosing the right location for both the indoor and outdoor units is crucial for efficient operation. For the indoor unit, select a wall free of obstacles such as furniture or curtains, and ensure it is at least 2 meters above the floor. This placement ensures even distribution of air throughout the room. Avoid locations where direct sunlight or heat sources may affect the unit's efficiency.
For the outdoor unit, choose a location that allows proper ventilation. It should be placed away from direct sunlight and protected from rain. A balcony, roof, or sturdy wall mount are ideal locations. Ensure there is ample space around the unit for maintenance and airflow.
2. Installing Mounting Brackets
Start by installing mounting brackets for the indoor unit. Use a level and tape measure to mark drilling points on the wall. Drill holes and insert wall plugs or anchors. Secure the brackets firmly using screws. Ensure the brackets are level to prevent drainage problems and ensure proper operation.
3. Connecting Refrigerant Pipes and Electrical Cables
With the brackets in place, the next step is to connect the refrigerant pipes and electrical cables. These connections must be made carefully to prevent leaks and electrical hazards. Follow these steps:
Refrigerant Pipes: Measure and cut the pipes to the required length. Connect the pipes to the indoor unit, ensuring all connections are tight and leak-free. Use insulation materials to cover the pipes and prevent energy loss.
Electrical Cables: Connect the electrical cables according to the wiring diagram provided in the installation manual. Use cable ties to secure the wires and prevent tangling or damage.
Drainage Hose: Attach the drainage hose to the indoor unit and ensure it has a downward slope to allow proper condensate drainage.
4. Mounting the Indoor Unit
Once the connections are complete, mount the indoor unit on the brackets. Double-check that the unit is securely attached and level. Any tilt can affect the drainage system and lead to water leaks indoors.
5. Installing the Outdoor Unit
The outdoor unit should be installed on a solid surface using suitable brackets or a platform. Ensure the unit is level and securely fastened to prevent vibrations and noise. Connect the refrigerant pipes, electrical cables, and drainage hose to the outdoor unit. Again, ensure all connections are tight and well-insulated.
6. Vacuuming and Charging the System
After making all the connections, it's essential to evacuate air and moisture from the refrigeration circuit. This step typically requires a vacuum pump. Attach the pump to the service valve on the outdoor unit and evacuate the system. Once vacuuming is complete, you can charge the system with refrigerant. This process is critical and should be performed by a qualified technician to ensure correct refrigerant levels and prevent damage to the unit.
7. Testing the System
Finally, turn on the air conditioner and test its operation in different modes. Check for any unusual noises, vibrations, or leaks. Ensure the system cools or heats efficiently and that remote control or smart connectivity functions work correctly.
Maintenance Tips
Regular Cleaning: Clean the filters and indoor coils regularly to maintain efficiency. Dust and debris can obstruct airflow and reduce performance.
Scheduled Maintenance Services: Schedule professional maintenance services at least once a year. This should include checking refrigerant levels, inspecting electrical connections, and cleaning the outdoor unit.
Energy-Saving Practices: Use energy-saving modes and set the thermostat to a reasonable temperature. Close windows and doors to retain cool air indoors.
Monitoring System Operation: Monitor the operation of your Ballu air conditioner. If you notice decreased cooling or heating efficiency, unusual noises, or leaks, contact a technician for diagnosis and repair.
Upgrading Your Ballu Air Conditioner
As technology advances, Ballu continues to improve its models, offering new features and higher efficiency. If your current air conditioner is outdated or you want additional features, consider upgrading to a new model. Features such as smart home integration, enhanced air purification, and increased energy efficiency can significantly improve comfort and save money on operating costs.
Conclusion
Installing a Ballu air conditioner requires precision and attention to detail. By following these steps and maintaining regular upkeep, you can ensure long-lasting and reliable performance from your Ballu air conditioner, creating a comfortable atmosphere in your home or office for years to come. Whether you prefer DIY installation or professional services, understanding the installation process will help you make informed decisions and maximize the capabilities of your Ballu air conditioner.