Installation of split system in Chisinau


Installing a split system air conditioner is a significant investment in enhancing indoor comfort and energy efficiency. Split systems are popular for their versatility, allowing for targeted cooling or heating of individual rooms or zones within a building. In this detailed guide, we will explore the essential steps, considerations, and best practices involved in the installation of a split system air conditioner to ensure optimal performance and longevity.
Pre-Installation Preparation
Before diving into the installation process, thorough preparation is essential to streamline the execution and minimize potential challenges:
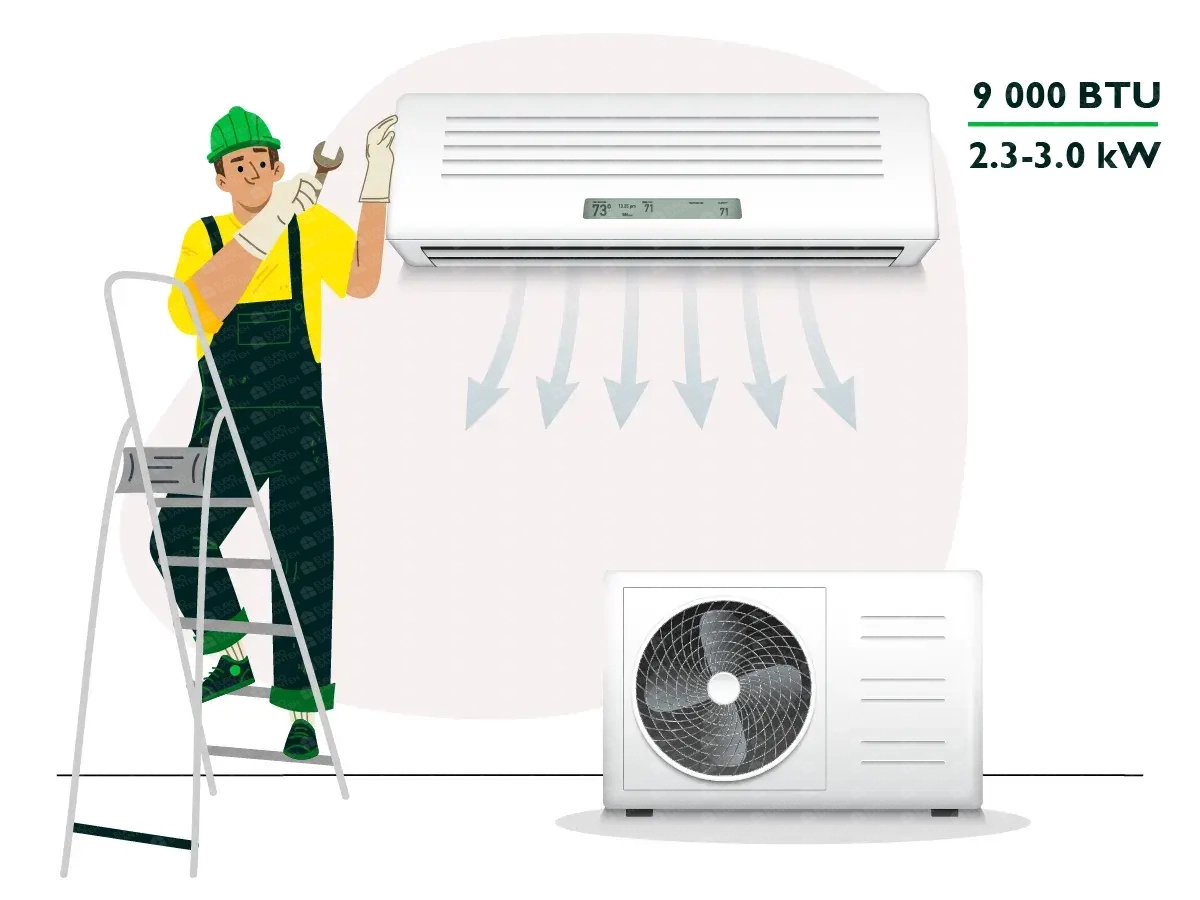
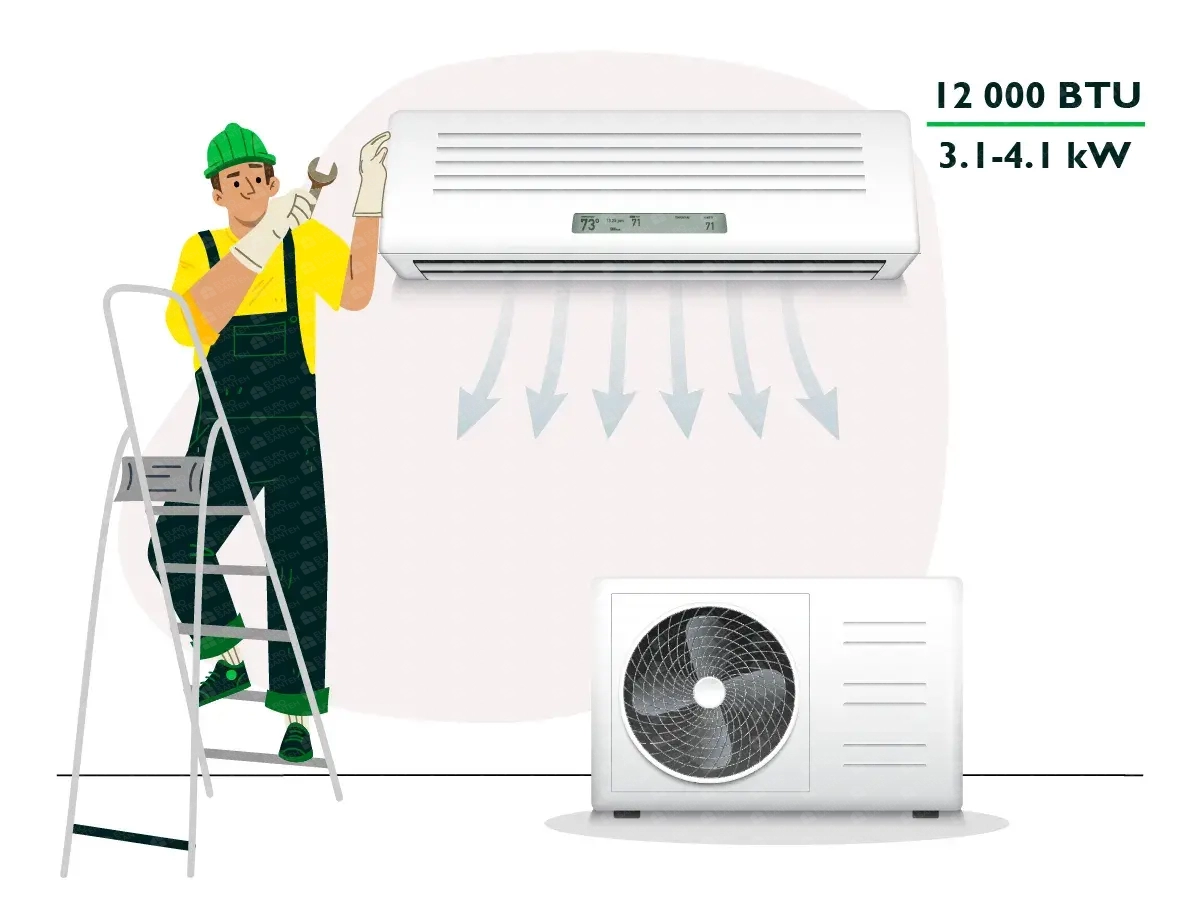
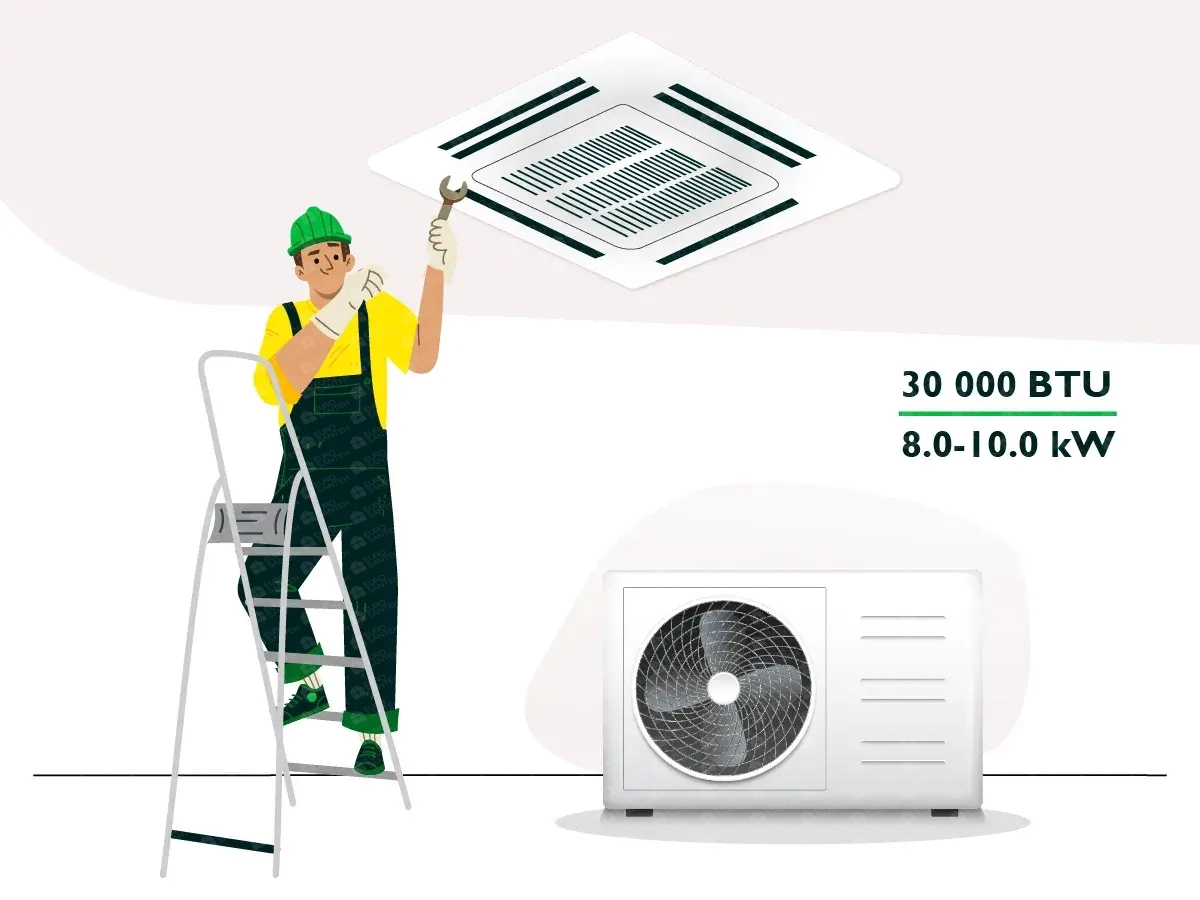
Equipment Selection: Choose the appropriate split system unit based on room size, cooling/heating capacity requirements, energy efficiency ratings, and specific features such as programmable thermostats or air purification options.
Site Assessment: Evaluate the space where the indoor and outdoor units will be installed. Consider factors such as access to power sources, proximity to windows or doors, and structural integrity of walls for mounting.
Gathering Materials: Procure all necessary materials and components for installation, including refrigerant lines, electrical wiring, mounting brackets, and insulation materials.
Steps for Installing a Split System Air Conditioner
1. Installation of the Outdoor Unit
Location Selection: Choose a suitable location for the outdoor unit that allows for adequate airflow and noise reduction. Ensure the unit is placed on a stable surface or mounting brackets to minimize vibrations during operation.
Mounting: Securely mount the outdoor unit, ensuring it is level and positioned according to manufacturer guidelines. This step is crucial for optimizing performance and ensuring longevity.
Refrigerant Lines: Connect the refrigerant lines from the outdoor unit to the indoor unit(s), carefully measuring and cutting the lines to avoid bends or kinks that could restrict refrigerant flow. Seal all connections properly to prevent leaks.
2. Installation of the Indoor Unit(s)
Positioning: Determine the optimal location for each indoor unit based on room layout and cooling/heating requirements. Mount the indoor unit on the wall or ceiling using appropriate brackets, ensuring it is positioned for maximum airflow and distribution.
Electrical Connections: Connect the indoor unit(s) to the power supply, following electrical diagrams provided by the manufacturer. Ensure all connections are secure and insulated to prevent electrical hazards.
3. Refrigerant and Drainage
Refrigerant Charge: Properly charge the system with refrigerant according to manufacturer specifications. This step requires careful measurement and adherence to safety guidelines to avoid overcharging or undercharging the system.
Condensate Drainage: Install and route condensate drainage pipes from the indoor unit(s) to appropriate drainage points. Ensure the pipes are sloped correctly to facilitate smooth drainage and prevent water buildup.
4. Electrical Wiring and Control Setup
Wiring Connections: Connect control wiring between the indoor and outdoor units to enable communication and control functions such as temperature settings and fan speed adjustments. Test the controls to ensure they are functioning correctly.
System Testing: Perform a comprehensive test of the entire system to verify proper operation, refrigerant pressure levels, and temperature control. Adjust settings as necessary to achieve optimal performance.
5. Completion and Aesthetic Considerations
- Final Checks: Conduct a final inspection to ensure all components are installed correctly and securely. Conceal wiring and pipes where possible to enhance the appearance of the installation.
Maintenance and Ongoing Care
To maintain peak performance and extend the lifespan of your split system air conditioner, regular maintenance is essential:
Filter Cleaning: Clean or replace air filters regularly to ensure efficient airflow and maintain indoor air quality.
Annual Service: Schedule annual service inspections with qualified technicians to check refrigerant levels, inspect coils and filters, and perform any necessary adjustments or repairs.
Conclusion
The installation of a split system air conditioner requires meticulous planning, technical expertise, and adherence to safety standards to ensure reliable operation and energy efficiency. By following the steps outlined in this guide and investing in professional installation and maintenance, homeowners and businesses can enjoy consistent indoor comfort while optimizing energy consumption. Proper installation and ongoing care not only enhance performance but also contribute to the longevity of the system, making it a worthwhile investment in indoor comfort and energy savings.